

hey all, new here thought i would post up soem pics of my ongoing project. I needed too rebuild my truck and wanted too do something diferent. Enter P40 WARHAWK fighter truck....
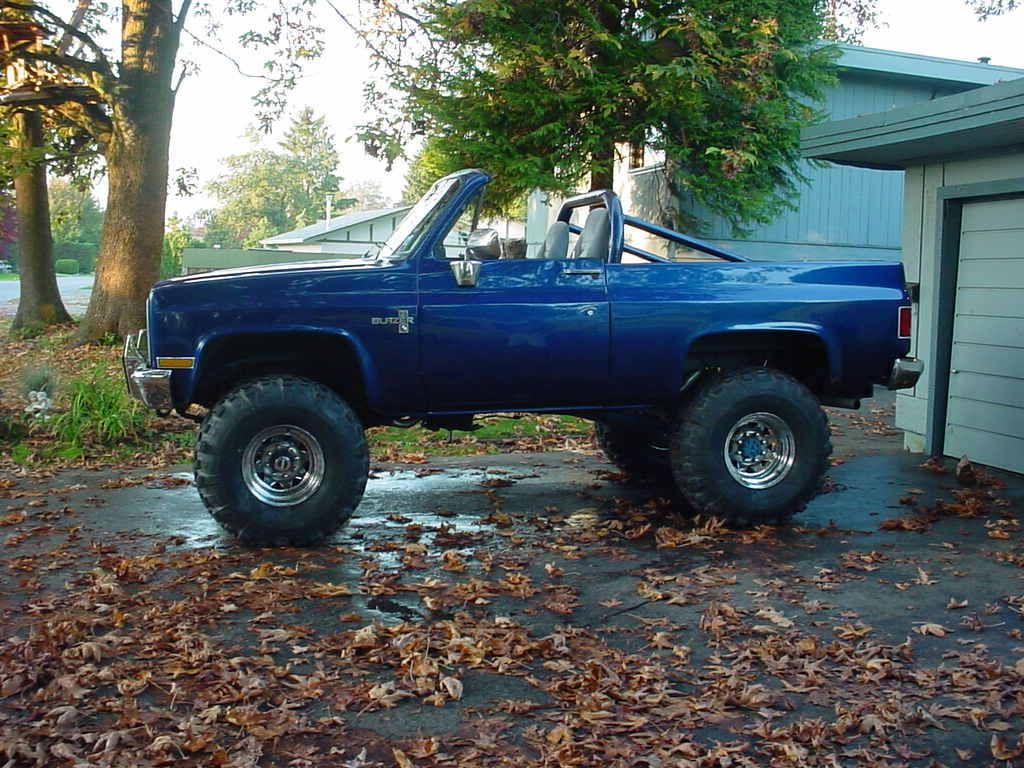
this is the blazer i bought 5 years ago...
![Image]()
![Image]()
![Image]()
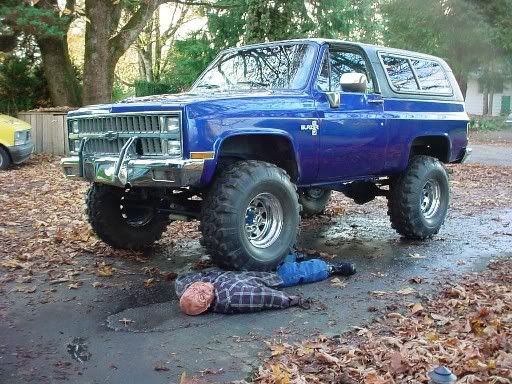
halloween 04
![Image]()
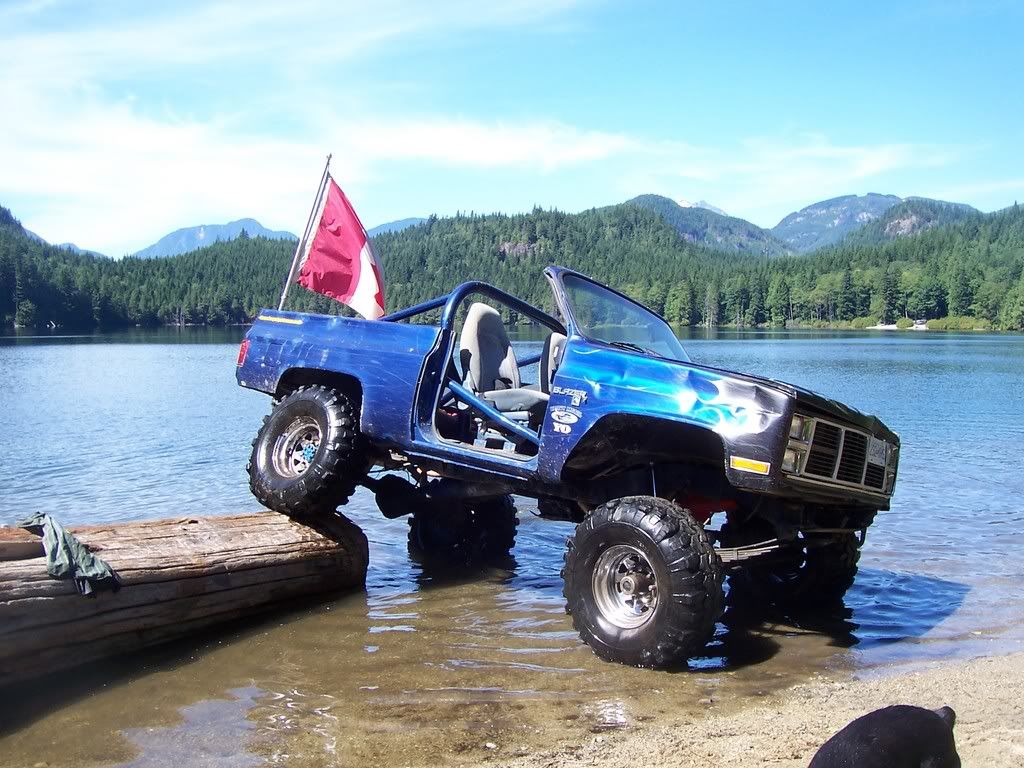
after 3 years of wheelin and camping this is what she " evolved" too..
![Image]()
![Image]()
bought a 2 wd for the BBC and some frame bits..
![Image]()
the pile that was left of the chevy after i took everything i wanted...
![Image]()
the last pic of her..
![Image]()
started the tear down...
![Image]()
this is the blazer i bought 5 years ago...


halloween 04
after 3 years of wheelin and camping this is what she " evolved" too..

bought a 2 wd for the BBC and some frame bits..

the pile that was left of the chevy after i took everything i wanted...

the last pic of her..

started the tear down...


