Some people have noticed that their wheel spacer lug nuts do not seem to have enough threads holding the nuts on. It seems that some wheel spacers sold by Marlin Crawler and other vendors have two different taper cuts. One taper style is cut deeper than the other. A solution is to swap out the nuts holding the spacers on with a long reach lug nut. These nuts sit much lower in the wheel spacer and have threads that extend into the spacer well past the tapered section.
Here are the two nuts next to each other side by side.
![Image]()
When a "Normal Lug Nut" is used in a spacer with the shallow taper the result looks like the spacer below, with about 1/3 of the threads in the nut unused. It will look like this...
![Image]()
Here is a photo of a different wheel spacer with a deeper taper and a normal nut. This is considered a correct fit.
![Image]()
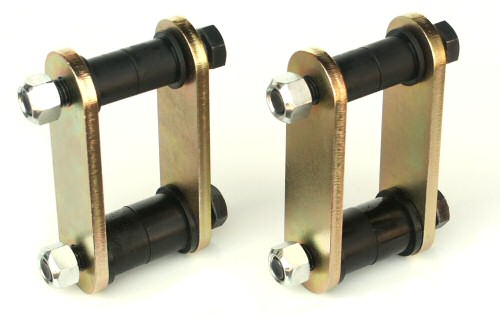
Just for reference here are the two style of wheel spacers, normal taper on top and the shallow taper on the bottom. The only difference is how deep the taper is cut.
![Image]()
![Image]()
If you have purchased wheel spacers from us that have the shallow taper we will proved a free set of replacement nuts that are specially made to fit deeper inside the wheel spacer. If you did not purchase you wheel spacers from us we will provide a set of 12 lug nuts for $15.
Please note that these special long reach nuts can NOT be used on wheel spacers with the normal taper. That is because the long reach nuts will go past the bottom of the wheel spacers. If you use the long reach nuts on a normal taper wheel spacer you will have an unsafe wheel spacer that can not be tightened. The nut will contact the hub before pressure is applied to the wheel spacer. This results in a wheel spacers that is loose even though the nuts are tight. If you do not under stand this please call us so we can help you ensure you have the proper lug nut.
Put a different way, it's important to match the wheel spacer to the nut. A deep taper wheel spacer should use normal nuts. A shallow taper wheel spacer should use a long reach lug nuts.
Here are the two nuts next to each other side by side.

When a "Normal Lug Nut" is used in a spacer with the shallow taper the result looks like the spacer below, with about 1/3 of the threads in the nut unused. It will look like this...

Here is a photo of a different wheel spacer with a deeper taper and a normal nut. This is considered a correct fit.

Just for reference here are the two style of wheel spacers, normal taper on top and the shallow taper on the bottom. The only difference is how deep the taper is cut.


If you have purchased wheel spacers from us that have the shallow taper we will proved a free set of replacement nuts that are specially made to fit deeper inside the wheel spacer. If you did not purchase you wheel spacers from us we will provide a set of 12 lug nuts for $15.
Please note that these special long reach nuts can NOT be used on wheel spacers with the normal taper. That is because the long reach nuts will go past the bottom of the wheel spacers. If you use the long reach nuts on a normal taper wheel spacer you will have an unsafe wheel spacer that can not be tightened. The nut will contact the hub before pressure is applied to the wheel spacer. This results in a wheel spacers that is loose even though the nuts are tight. If you do not under stand this please call us so we can help you ensure you have the proper lug nut.
Put a different way, it's important to match the wheel spacer to the nut. A deep taper wheel spacer should use normal nuts. A shallow taper wheel spacer should use a long reach lug nuts.