From January 21st
WELL ITS ABOUT TIME!! ;D
;D
Finally got a chance to start my buildup today. It will be on the street way more than offroad, so i want a stable zuk. My plans originally were 31s with SPUA YJ, then i got a REALLY good deal on some 33" Swamper LTBs and changed plans to SPOA YJ, but was just never really sold on the idea of running 33s every day. So I looked and found a buyer for the 33s and went back to my original plans.
In the meantime i got a deal on a 5.14 Calmini tcase and a 1.6L 8v motor... Well, my stock tcase went kaput and so i put the 5.14 case in and have been running it on stock arms for sometime now. I have been wanting to put the 1.6 in, but have been told i have to have a lift for it to work, so i wanted to get the lift installed first. And that is what i have been working on today.
I will start by giving an overview of my goal.
Parts already installed at this time are:
Rock 4x Fabrication rear roll cage and Tracker Seat belts.
Heavy duty front bumper i designed and had built.
Bama Zuk tube and half doors.
Open Air cleaner i designed and had built with the help of friends at the muffler shop and my welder buddy.
5.14 Calmini Case with stock arms and Rock 4x Fabrication poly tcase bushings
A little bling coutesy of Redidbull
Blingin reupholstered seats from Triple B Upholstery up near Winona, MS
Late model Samurai/ Sidekick 3 spoke steering wheel
Shrockworks gas tank skid plate
Spidertrax battery tie down
I have some parts in stock that i havent had time to put on. They include:
Hardcore 4x4 belly pan
Spidertrax t-case arms
1.6L 8v motor
and most of my suspension
My plans for the suspension are as follows:
1" lift Superlift YJ springs installed in spua configuration (should be good for 3.5" lift plus or minus
Sky Mfg. YJ kit front and rear from Rock 4x Fabrication
Sky Mfg shockhoops, again from Rock 4x Fabrication
Spidertrax rear upper shock mount from Rock 4x Fabrication
Longer brakelines
Bumpstop brackets designed by me and made by my welder at Fabricated Steel Supply in Clinton, MS
Bumpstops came from my buddy Josh over at Offroad Innovations in Monroe, LA
And if my rear driveshaft isnt long enough in stock form, I am going to have my buddies over at Jackson Powertrain modify my Toyota CV shaft i have to use it, and i will have the front lengthened.
Other plans include, but not limited to: ;D
Heavy duty rear bumper and rock sliders designed by me and built by my buddy over at Fabricated Steel Supply
Petroworks dash and gauges
Superliner bedliner sprayed by me when i remove the dash so i can go all the way up the firewall.
Upgraded sound system
Upgraded headlights and offroad lights
Stinger built by someone who has not been determined at this time
Some sort of selectable lockers
power steering
I am sure i am forgetting a TON of stuff...
But anyway, onto the pics. ;D
Today's progress:
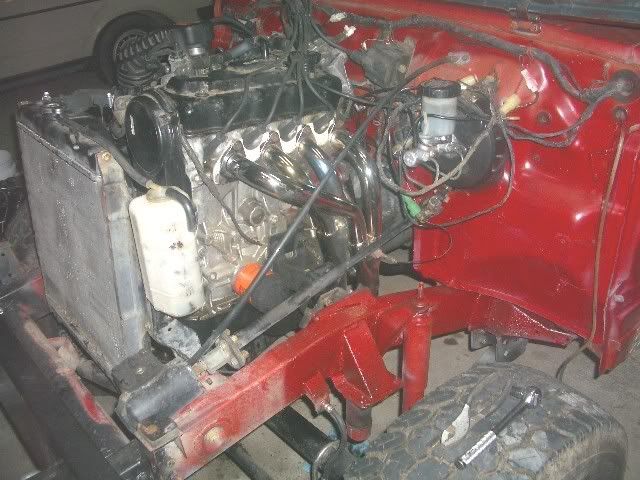
Flexed it out to see what it would do in stock form. the shocks limited me BIG TIME. I had RRO missing links on front, but with the short shocks, i couldnt get the front tire more than about 12" off the ground before the other front tire came up too. :
![Image]()
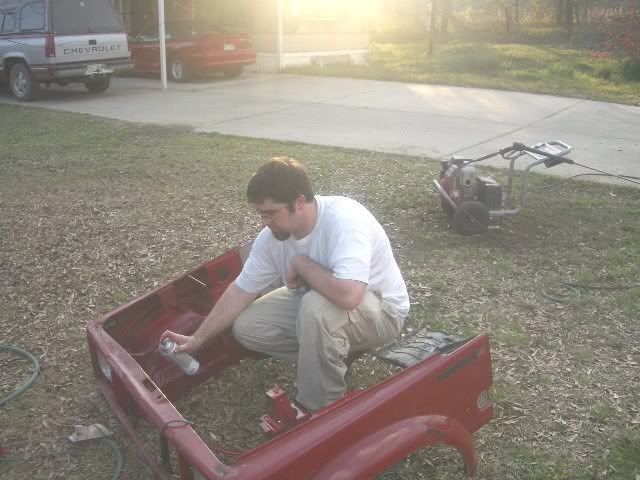
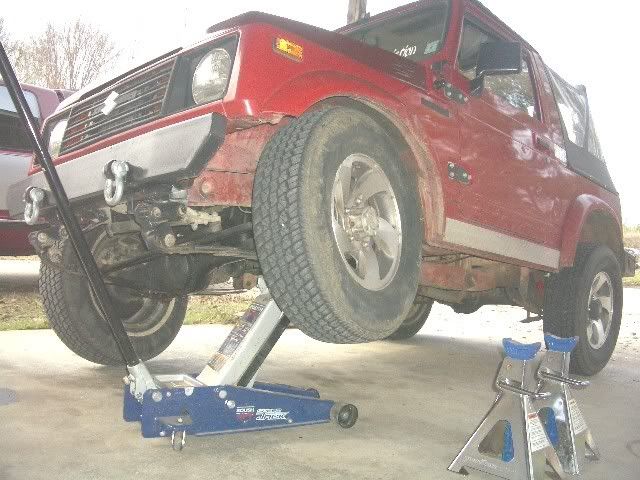
Here it is preparing for surgery.
![Image]()
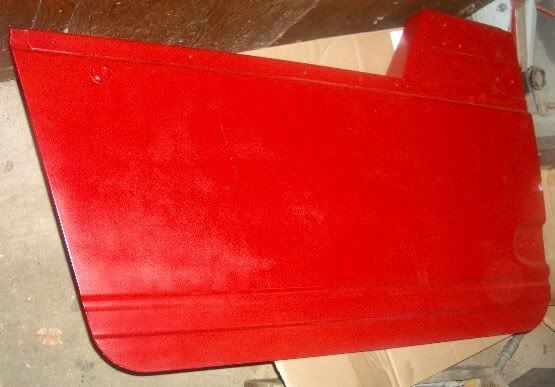
This is the kit I am using. Bought it from Rockrat here on the board. His buisness is Rock 4x Fabrication and he has the BEST customer service of anyone I have dealt with. [thumbsup] Thanks Scott!
![Image]()
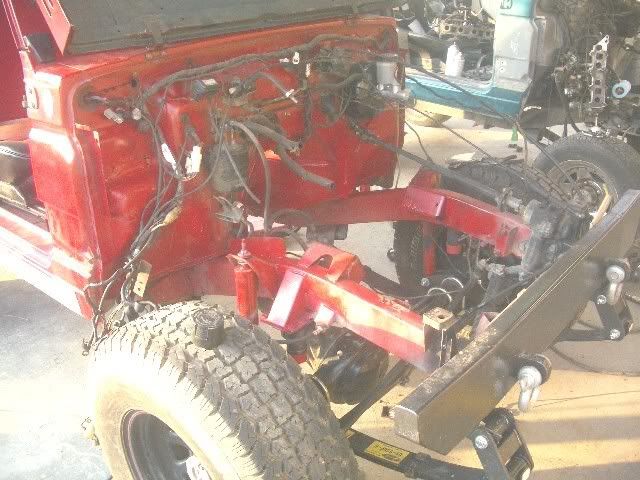
Leaf spring removed. This is the FIRST sami have ever worked on that i didnt have to cut the springs out of the hangers. I removed the bolt and it dropped right out. Every other time at least ONE bolt has been seized up and had to be cut or grinded out. Maybe the rear will be as smooth as the front. ;D
![Image]()
These boogers are VERY TIGHT!! I beat and smacked and cussed and groaned until i got the missing links assembled. Should be good for the street tho, but that still doesnt make it any more fun to assemble.
![Image]()
Got the hanger hung. Heres a tip: You have to grind the stock hanger a tad bit to keep the bushing in the YJ spring from hitting against it and chewing it up.
![Image]()
Here is a comparison of the springs. Stock front below the YJ spring. 1" Superlift spring i bought from Superlifts Ebay store for $40 each new. Bushings not included, but still a heck of a deal! ;D
![Image]()
WELL ITS ABOUT TIME!!
;DFinally got a chance to start my buildup today. It will be on the street way more than offroad, so i want a stable zuk. My plans originally were 31s with SPUA YJ, then i got a REALLY good deal on some 33" Swamper LTBs and changed plans to SPOA YJ, but was just never really sold on the idea of running 33s every day. So I looked and found a buyer for the 33s and went back to my original plans.
In the meantime i got a deal on a 5.14 Calmini tcase and a 1.6L 8v motor... Well, my stock tcase went kaput and so i put the 5.14 case in and have been running it on stock arms for sometime now. I have been wanting to put the 1.6 in, but have been told i have to have a lift for it to work, so i wanted to get the lift installed first. And that is what i have been working on today.
I will start by giving an overview of my goal.
Parts already installed at this time are:
Rock 4x Fabrication rear roll cage and Tracker Seat belts.
Heavy duty front bumper i designed and had built.
Bama Zuk tube and half doors.
Open Air cleaner i designed and had built with the help of friends at the muffler shop and my welder buddy.
5.14 Calmini Case with stock arms and Rock 4x Fabrication poly tcase bushings
A little bling coutesy of Redidbull
Blingin reupholstered seats from Triple B Upholstery up near Winona, MS
Late model Samurai/ Sidekick 3 spoke steering wheel
Shrockworks gas tank skid plate
Spidertrax battery tie down
I have some parts in stock that i havent had time to put on. They include:
Hardcore 4x4 belly pan
Spidertrax t-case arms
1.6L 8v motor
and most of my suspension
My plans for the suspension are as follows:
1" lift Superlift YJ springs installed in spua configuration (should be good for 3.5" lift plus or minus
Sky Mfg. YJ kit front and rear from Rock 4x Fabrication
Sky Mfg shockhoops, again from Rock 4x Fabrication
Spidertrax rear upper shock mount from Rock 4x Fabrication
Longer brakelines
Bumpstop brackets designed by me and made by my welder at Fabricated Steel Supply in Clinton, MS
Bumpstops came from my buddy Josh over at Offroad Innovations in Monroe, LA
And if my rear driveshaft isnt long enough in stock form, I am going to have my buddies over at Jackson Powertrain modify my Toyota CV shaft i have to use it, and i will have the front lengthened.
Other plans include, but not limited to: ;D
Heavy duty rear bumper and rock sliders designed by me and built by my buddy over at Fabricated Steel Supply
Petroworks dash and gauges
Superliner bedliner sprayed by me when i remove the dash so i can go all the way up the firewall.
Upgraded sound system
Upgraded headlights and offroad lights
Stinger built by someone who has not been determined at this time
Some sort of selectable lockers
power steering
I am sure i am forgetting a TON of stuff...
But anyway, onto the pics. ;D
Today's progress:
Flexed it out to see what it would do in stock form. the shocks limited me BIG TIME. I had RRO missing links on front, but with the short shocks, i couldnt get the front tire more than about 12" off the ground before the other front tire came up too. :
Here it is preparing for surgery.

This is the kit I am using. Bought it from Rockrat here on the board. His buisness is Rock 4x Fabrication and he has the BEST customer service of anyone I have dealt with. [thumbsup] Thanks Scott!

Leaf spring removed. This is the FIRST sami have ever worked on that i didnt have to cut the springs out of the hangers. I removed the bolt and it dropped right out. Every other time at least ONE bolt has been seized up and had to be cut or grinded out. Maybe the rear will be as smooth as the front. ;D

These boogers are VERY TIGHT!! I beat and smacked and cussed and groaned until i got the missing links assembled. Should be good for the street tho, but that still doesnt make it any more fun to assemble.

Got the hanger hung. Heres a tip: You have to grind the stock hanger a tad bit to keep the bushing in the YJ spring from hitting against it and chewing it up.

Here is a comparison of the springs. Stock front below the YJ spring. 1" Superlift spring i bought from Superlifts Ebay store for $40 each new. Bushings not included, but still a heck of a deal! ;D