

David Smiley came to me the day after the November 7th RCrocs race with his old buggy and a plan. Basically he wanted to strip his old chassis, reuse as much as possible, and build something to race competitively in all of these newer series. Another thing Smiley has been sort of pushing is innovation. This allowed us to try out using a 6L80e trans in this application to see if it really is the ticket for go fast competition.
Since that day we have been gathering every last part and fine tuning the design to what we feel will work the best as a primarily east coast racer. The deadline of the LCQ this coming year was set with a dream. Hopefully we can make that dream come true as we travel west in around 5 weeks.
Specs for his new build are as follows:
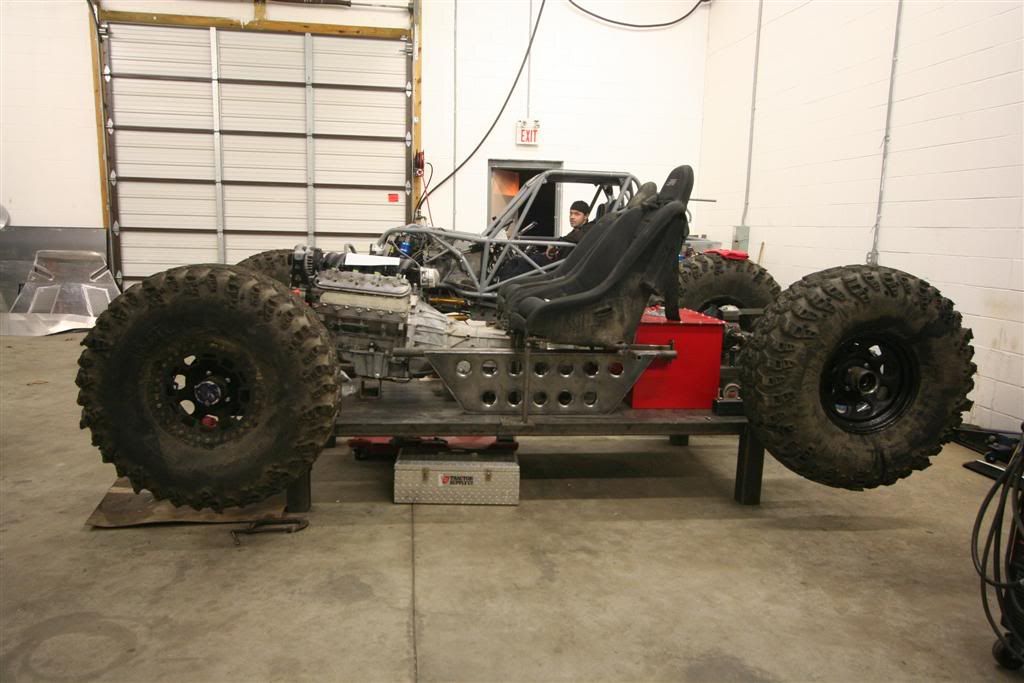
112" wheelbase
66" WMS
56" outside chassis width
Under 6'6" at ride height with 50/50 up travel (currently looking to be just under 6'4") with a 19" belly.
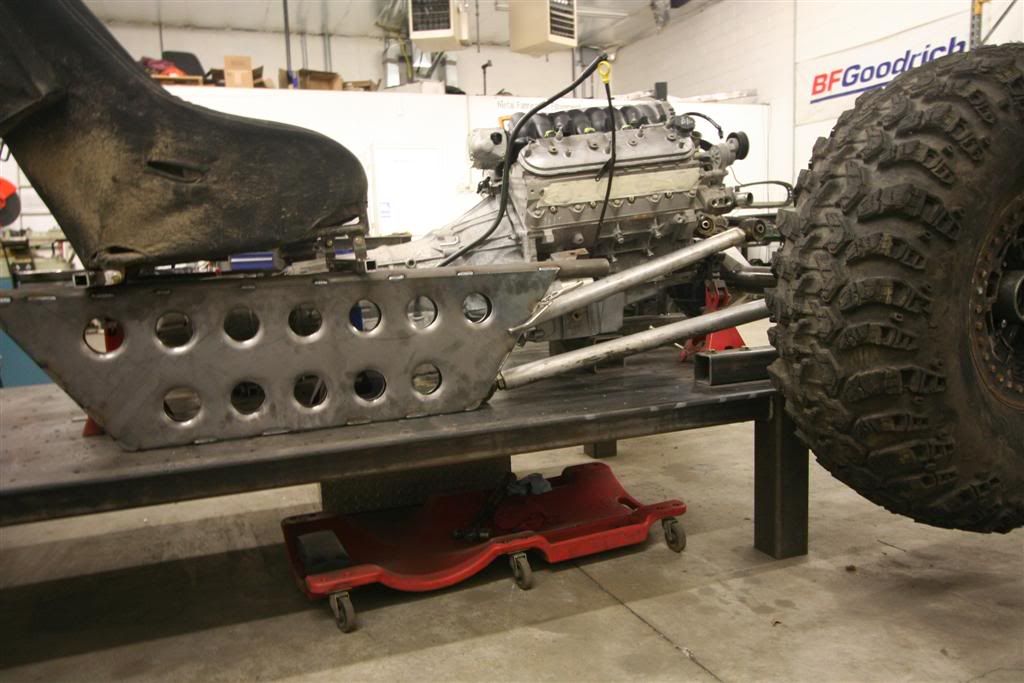
VVT L92 with MAST motorsports goodies good for 530hp
6L80e 6 speed auto trans
3.0 Atlas
Hi-9s front and rear
Spidertrax 3.5" offset housings
Crane inners, outers, and hi-steer
PSC front and rear steer systems
Bilstein 2.5" x 17" short bodies with Blackhawk resivoirs up front - 18" wheel travel
Bilstein 2" x 14" coilovers and 2.5" bypasses on trailing arms out back - 20" wheel travel
Jegs 32 gallon cell
42" iroks on steel beadlocks and 39" KRT-Bs on forged Racelines
etc. etc. etc.
On to the pics:
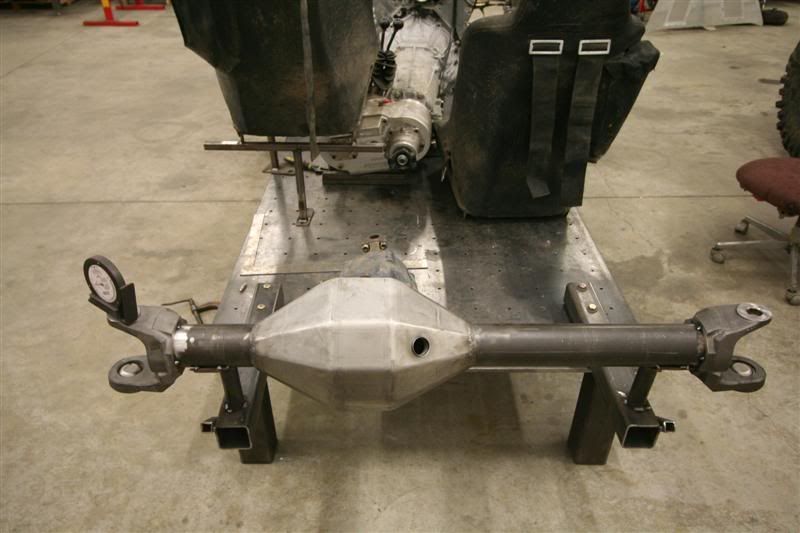
Rear housing
![Image]()
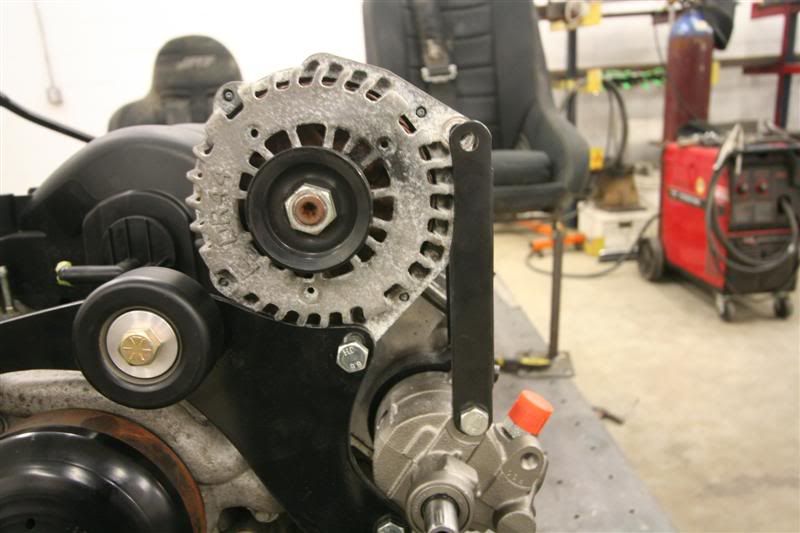
Wide Open Design's bracket kit. This will have to be modified slightly to fit the larger alternator from the Denali motor.
![Image]()
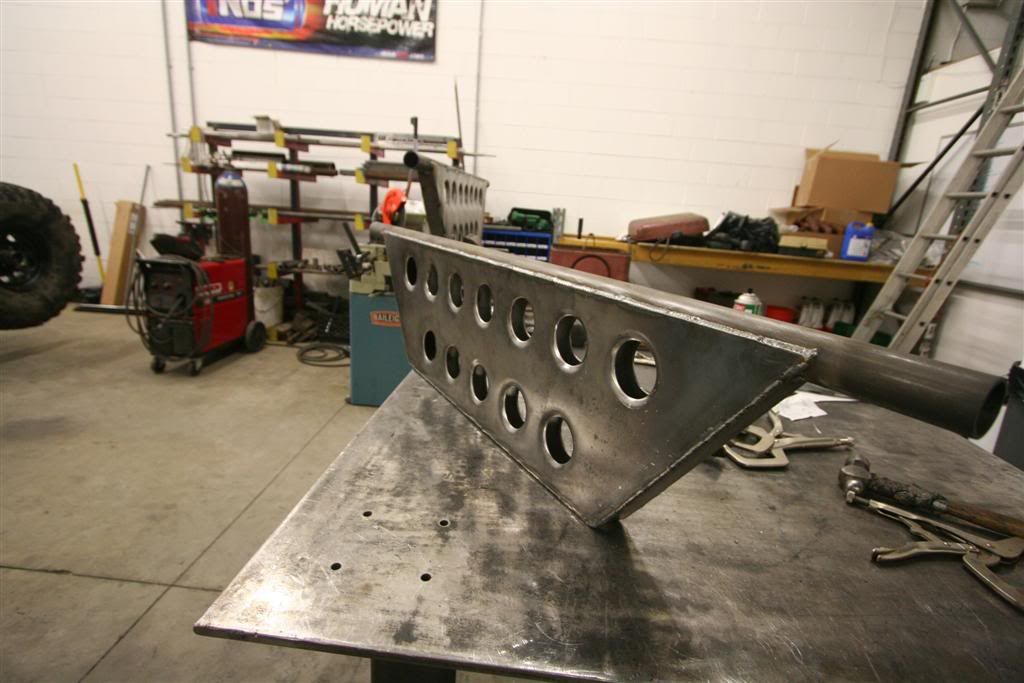
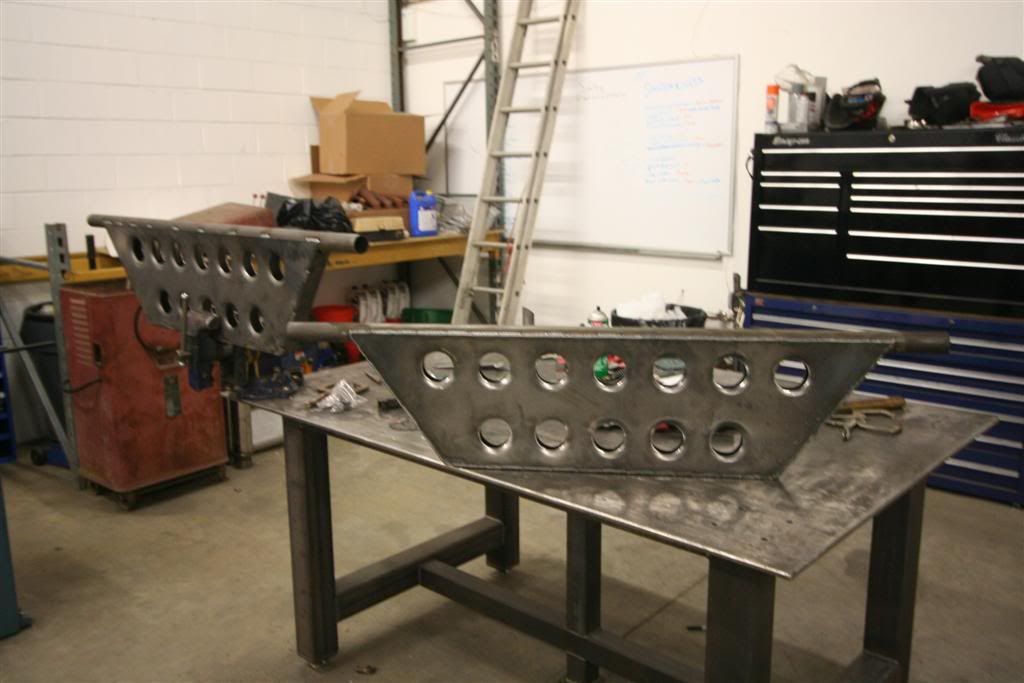
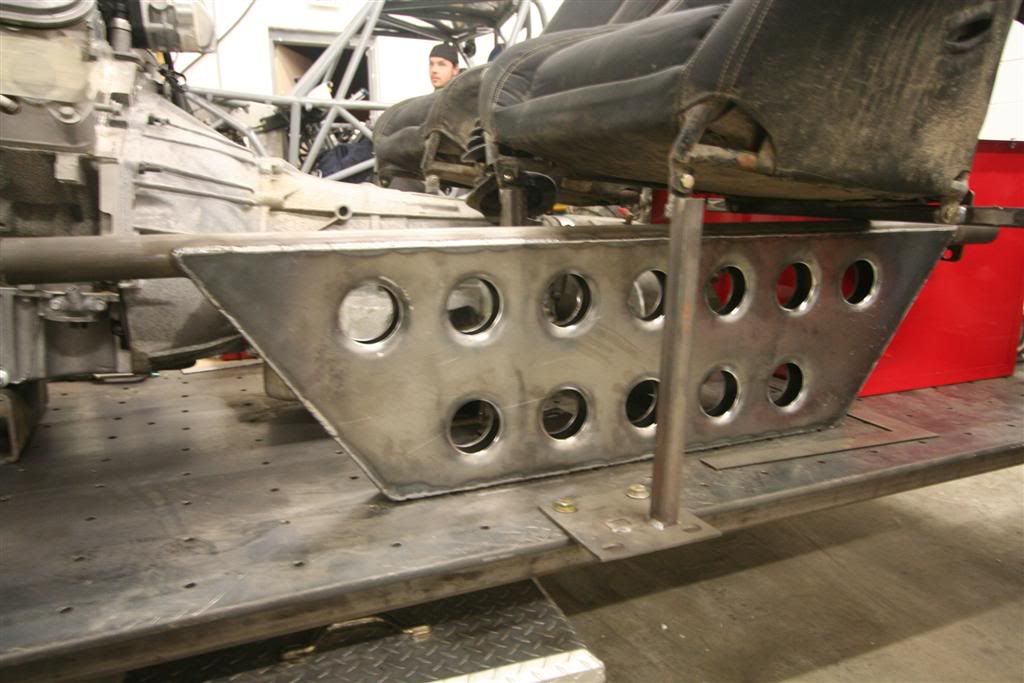
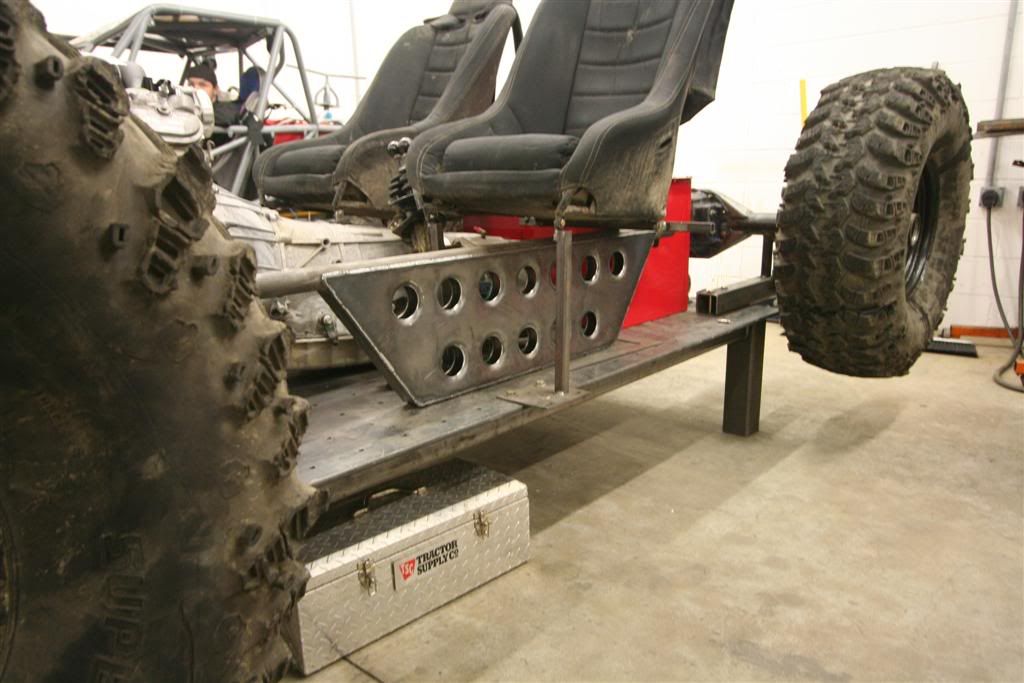
Subframe fab
![Image]()
![Image]()
![Image]()
![Image]()
![Image]()
Suspension mockup
![Image]()
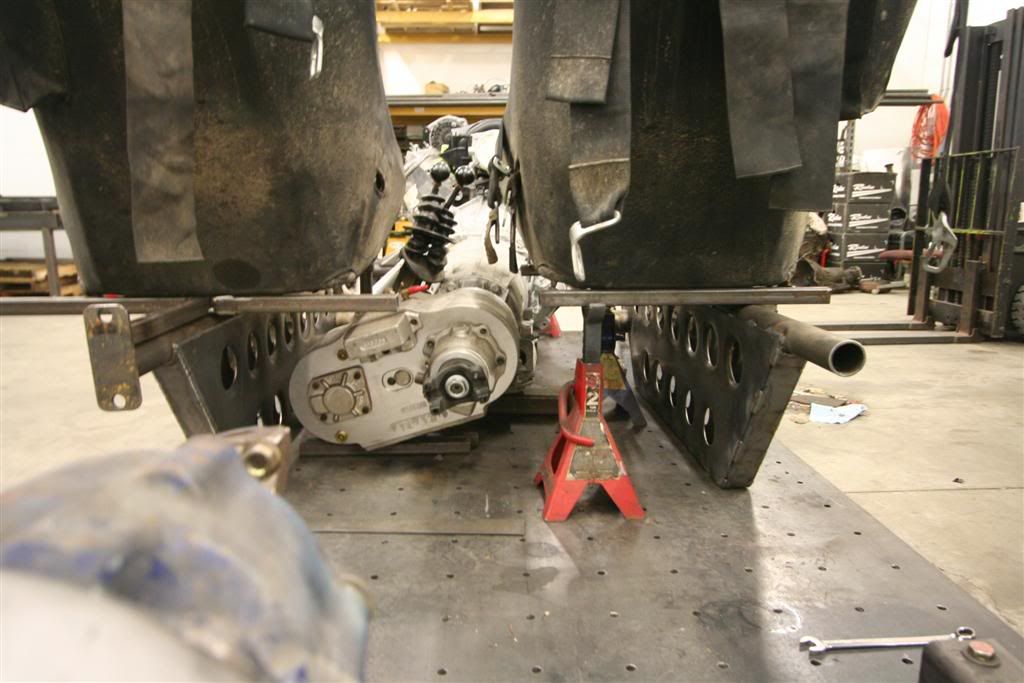
Very slightly offset drivetrain
![Image]()
Since that day we have been gathering every last part and fine tuning the design to what we feel will work the best as a primarily east coast racer. The deadline of the LCQ this coming year was set with a dream. Hopefully we can make that dream come true as we travel west in around 5 weeks.
Specs for his new build are as follows:
112" wheelbase
66" WMS
56" outside chassis width
Under 6'6" at ride height with 50/50 up travel (currently looking to be just under 6'4") with a 19" belly.
VVT L92 with MAST motorsports goodies good for 530hp
6L80e 6 speed auto trans
3.0 Atlas
Hi-9s front and rear
Spidertrax 3.5" offset housings
Crane inners, outers, and hi-steer
PSC front and rear steer systems
Bilstein 2.5" x 17" short bodies with Blackhawk resivoirs up front - 18" wheel travel
Bilstein 2" x 14" coilovers and 2.5" bypasses on trailing arms out back - 20" wheel travel
Jegs 32 gallon cell
42" iroks on steel beadlocks and 39" KRT-Bs on forged Racelines
etc. etc. etc.
On to the pics:
Rear housing
Wide Open Design's bracket kit. This will have to be modified slightly to fit the larger alternator from the Denali motor.
Subframe fab
Suspension mockup
Very slightly offset drivetrain
")


