Pirate 4x4 banner

project: SHREDDER

188K views 331 replies 125 participants last post by  wallysheata  
#1 · (Edited)
I had a hard time coming up with a name for my project, until it dawned on me this thing is eating up money lake a shredder eats paper so SHREDDER it is.

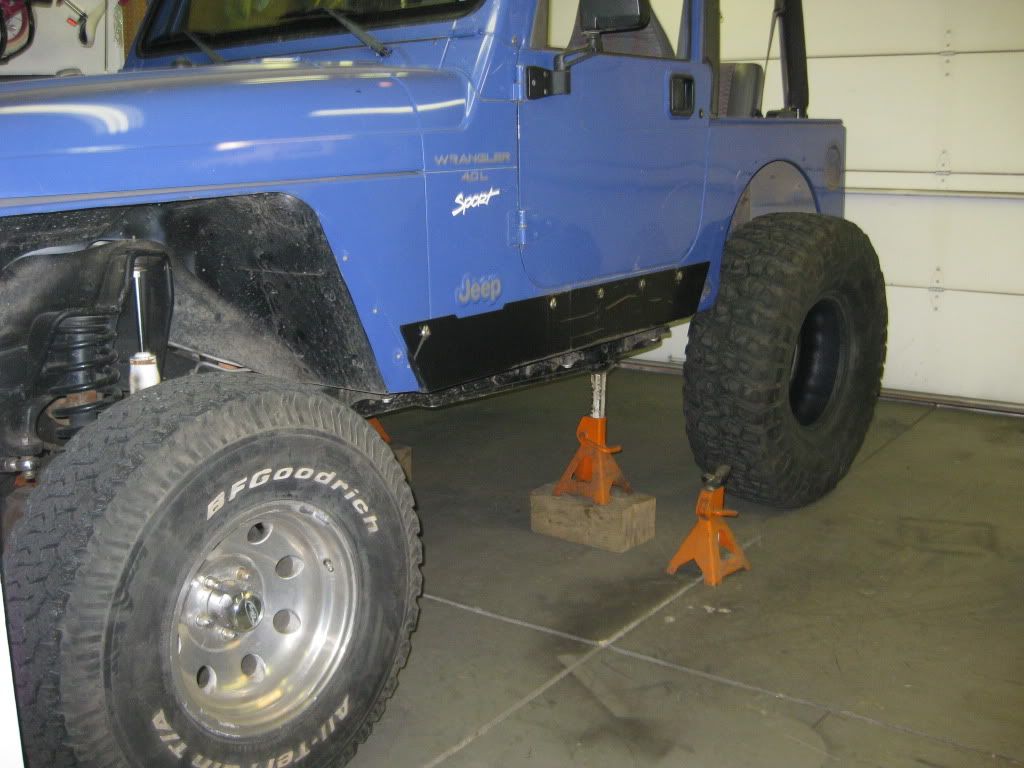
We picked this up a couple years ago 98 TJ 4 "lift 33 10.50 tires.
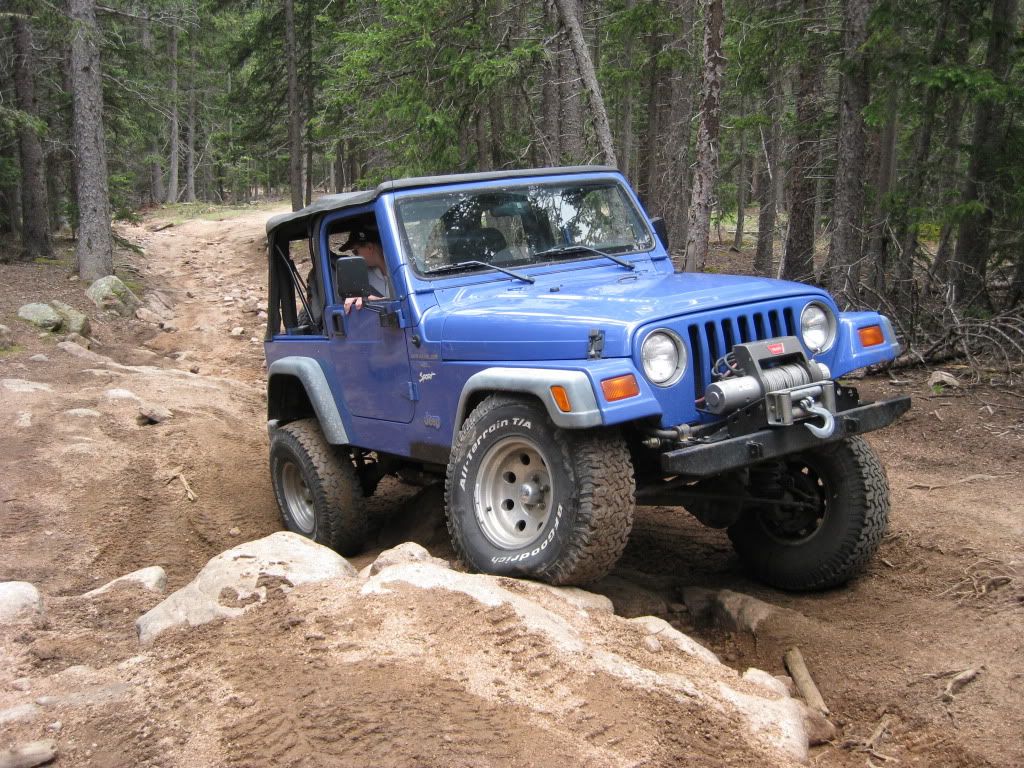
Image


It didn't take me long to figure out I wanted lockers, my last 4x had welded diffs front and rear and well every one says to build it the way you want it the first time and the lockers and gears cost about the dame for a d44 compared to d60 so what the heck.

Build start date 9-2011 the original plan:
1 tons gears and lockers
40" tires with bead locks
double triangulated rear
3 link front
hydro assist
coil overs front
coils rear
stretch the wb a little
keep it low with a flat skid and nothing hanging down (even the link mounts)
After i got it back on the road a cage would be next then some corner guards.


Latest plan as of 3-30-11
Gonna go full hydro steering
wheel base 108-110 undecided
frame height 22" belly height 21.5"
14" ORI's all the way around

I ended up finding a D60 rear with 5.13 gears, ARB and disc breaks for $800. With the WMS that i wanted 66" so it came home with me.
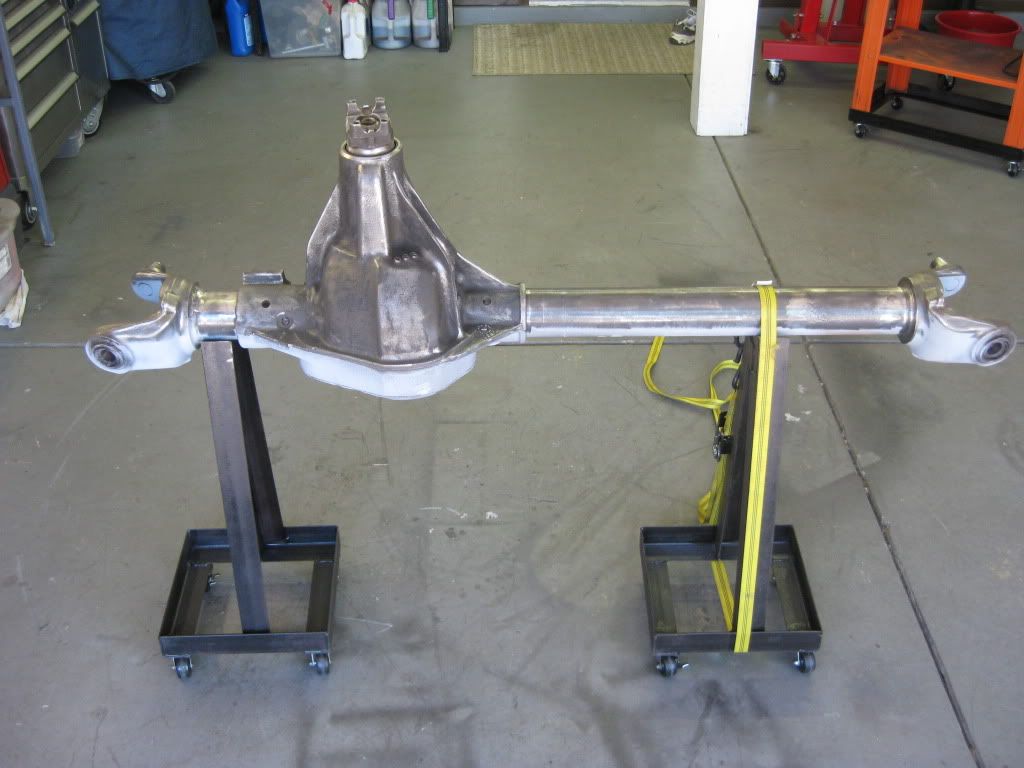
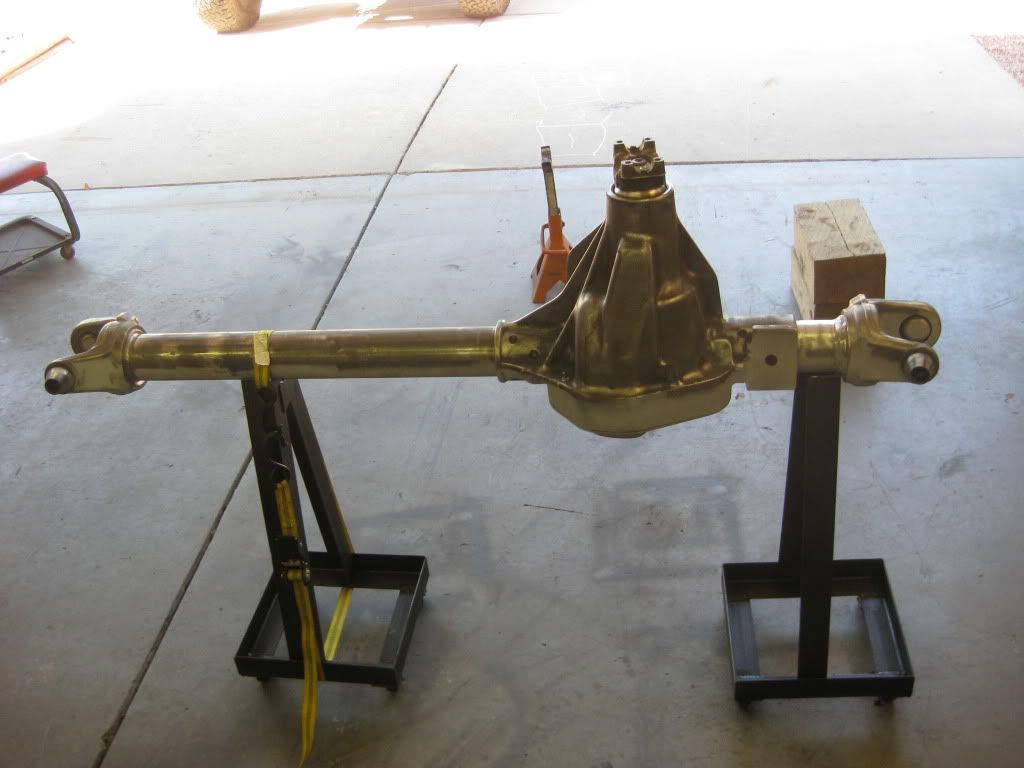
Then a 88 ford front 60 was found from a dually with single rear wheel hubs, from what i figured out if i cut 2 1/8" off the passenger side that will put it at 67" WMS perfect!
While my dad was here visiting we built the frond end what a great project for father and son, before he arrived I was able to get it cut down and the knuckle welded on.
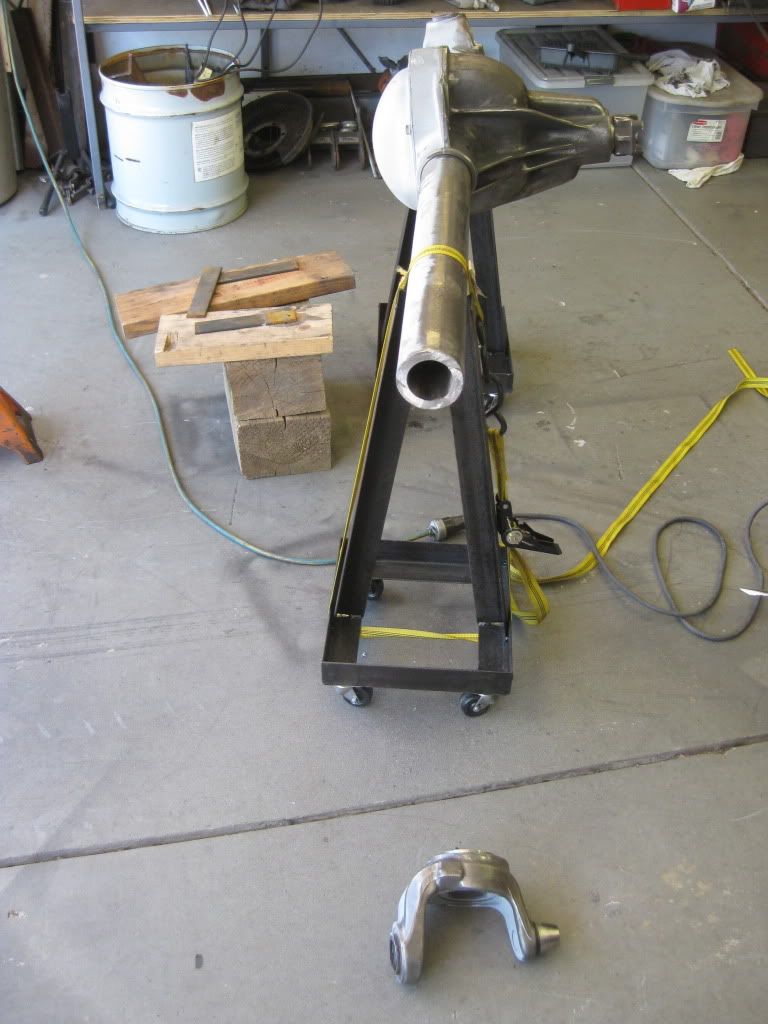
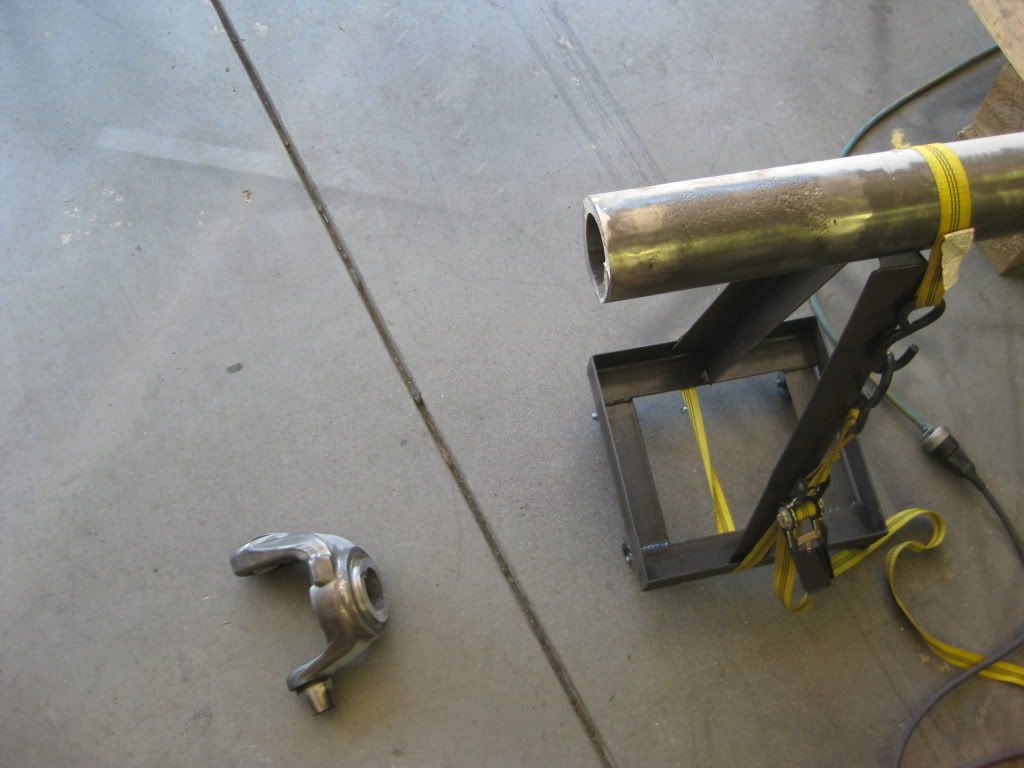
Image

Image

Image

Image

Image

Image


Went with 4340 axles throughout and 35 sp outers, ARB, 5.13 rears, king pin rebuild kits, new discs and calipers, was gonna run the factory knuckles now I'm gonna beef them up first.

I ended up buying a set of 40" BFG km2's slightly used from a local guy.
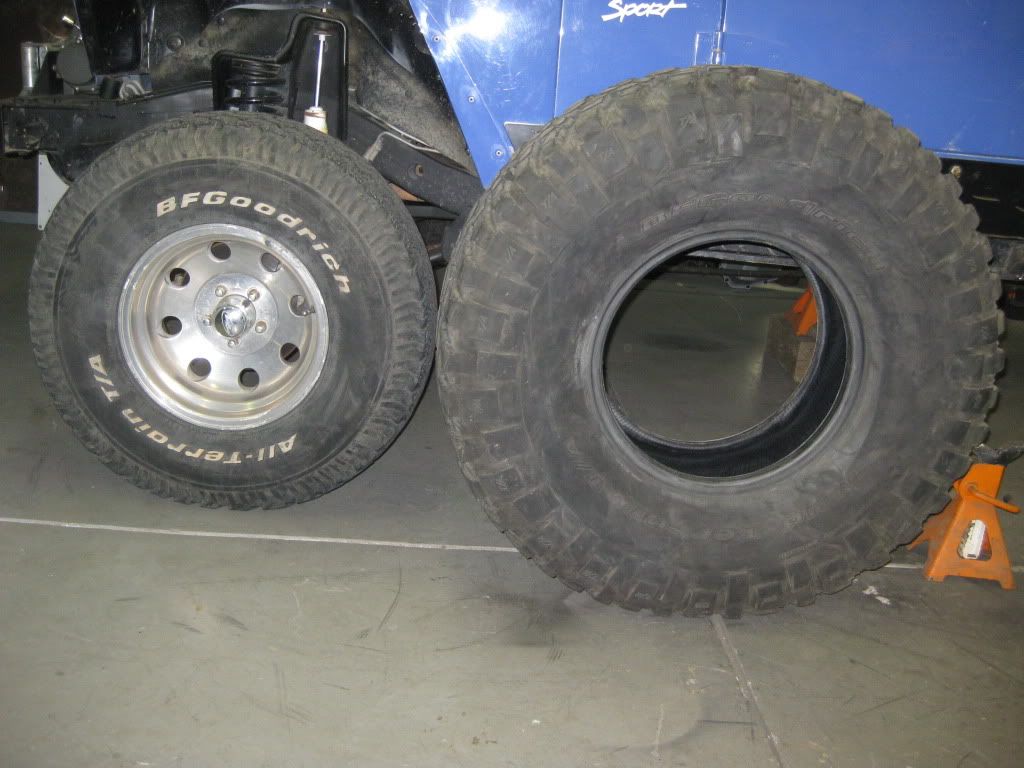
Image


Image
 
#2 · (Edited)
Once the front axle was done a pile of parts appeared on the side of the house, ya the cutting torch had a mind of it's own.

Image


Image

Image

Image


So i built s new rear frame with 2x4 box tube and 1/4 " plate that i had bent.


Image

Image

Image

Image
 
#4 ·
I decided having the trani mount on the skid was a bad thing so i built a cross member for the trani mount 2x2 sq tube, frenched in 1 x 1/2" flat bar for cv clearance, boxed it all in.
Crossmember will also provide strength for the skid.

Image

Image

Image

Image

Image

Image


My original plan was to get some steel wheels for cheep and then weld on some bead locks, I have had experience with bead locks before not home made ones manufactured ones and they were always leaking a royal pain in the *** and buy the time you add up the cost with time you are getting close to aluminum bead locks any way so i finally decided to pull the trigger on some wheels, I tried to get walker evens but they were on BO for a couple months so polly performance cut me a deal on some racelines.

Image

Image

Image
 
#5 · (Edited)
Well time to buy more goodies.
All rod ends from ruff stuff, 1.25 3/4 shank lowers, 7/8 uppers on the rear,1.25 for the front upper,7/8 for the track bar. This 1.25's are huge.


Image

Image


Built a press break
Image

Image

Air over hydro cylinder for a tube gender to be built at some time.

Image


Balistic fab cover and cross over steer kit.

Image


Then i started on the truss for the rear axle,Ya thats right thoes are dimple dies.

Image

Image
 
#6 · (Edited)
Then it was time to start on the rear 4 link, my plan from the start has been to build it with a flush with frame belly and a smooth transition from belly to link mounts, nothing hanging down to snag on rocks. This has proven to be a major pain it the rear but so far doable. first I built a cross member just about like the trani mount,the skid plate will be supported by it and it's smooth to the links. After many hours on the 4 link calculator and measuring this is what i came up with.


Image


Upper mounts

Image

Image

Image


Truss mounts
Image

Image

Image

Image

Image
 
#127 ·
Hey man great fab skills and very clean work. Question... Are your welds penetrating all the way through? It could be just me but some of your welds (Example-on the rear axle truss) look like they are just sitting on the surface and not penetrating all the way through. Im not trying to knock your work just more worried about safety.

If so then keep on! Your rig looks :grinpimp:
 
#11 · (Edited)
Thanks for the complements guys, this is my first real build so any suggestions would be great.

I'M trying to keep it low with 5" of bump and not cut the tub up to much, gotta leave room for the family.The way it sits now the truss will clear the tub buy a 1/2" at full bump.


Sense the 4 link got finished It was time to start on the fuel cell, even though the rci is a pretty good fit I wanted some thing to fit in a specific location. I could have modified the rci to fit but in my opinion the rci is a little to thin walled for our application and I wanted to keep the weight as low as possible.

So i built my own fuel cell, 1/8" aluminum, 1 1/2" lower that the rci, 1 gal more than the rci (the rci is only 14 gal if you do the math) and it's just the way i want it.
The cost well probably about the same as the rci around 200.00 + about 50.00 for fuel lines and connectors.

Started on the bed for the cell first,1/8" plate dimpled.


Image

Image


I built a cross member support of sorts out of 1/2 x1/2 angle that goes from frame and stops 4 " short on the passenger side then turn and goes to the rear bumper this leaves a channel for the exhaust to run also has a noch for the pumpkin to clear.

Image

Image

Image
 
#12 · (Edited)
Time to build the fuel cell.

Image

Image

Image

Image


I reused the factory fuel tank straps just had to modify them a bit.

Image


I bought some weather seal from NAPA that worked out perfect, It's got enough give that the tank can move around separate from the body and the passenger compartment will still remain sealed.

Image


Also bought some 1/4" thick belting from grainger with a real low durometer for the tank to sit on so the frame can flex around with out flexing the tank.
 
#18 ·
The tail gate is still in factory condition, you just half to open the tailgate to fill it up.
The filler neck cap clears the tail gate latch mechanism cover buy 1/4"
 
#19 ·
Thanks guys for the kudos, so far i have built this all buy my self in my small 2 peanut car garage with no fancy tools or equipment.

Believe it or not i made my dimple dies at home with what i could find around the garage, 2 of them are made with 1/2" plate and some tube the other one is a combination of big eye bolts and a tube adaptor. I know its poor boy ******* and the dimples aren't quite perfect but hay it was cheep (free), it works, and i'll probably wont use them agin when this project is done.
 
#23 ·
I just noticed you're in CO Springs. Hurry up and finish this thing so we can hit Penrose, I'd love to see this thing up close and personal.

If you need help regearing those axles lmk too, I'm very experienced with it.
 
#24 · (Edited)
I built a license plate mount and got the tail lights mounted, I'm not real shore if i like the license plate mount and the tail lights look a little strange but it's a nice compact package with the back up lights built in.

Image

Image

http://i1231.photobucket.com/albums/ee512/Bentaxle1/IMG_0004.jpg?t=1305686967/[img]

Still wating on the ORI's so i started to build the tube bender.
52 holes and some cuts and here is what you get.

[img]http://i1231.photobucket.com/albums/ee512/Bentaxle1/IMG_0011.jpg?t=1302950434
 
#30 · (Edited)
I might get flamed for this but what the hell.

1/2" bolt cut the threads off, 3 pieces of 1/2" plate two with 1/2" hole, one with a 1" hole.

Image


1" tube, 3 pieces of 1/2" plate two with 1" hole one with 1 1/4" hole

Image


This next one is real getto but o well it works!!

2 round picking eyes with 1 3/4" holes in them with some die grinding and welding to make the flat aria and a tube adaptor i didnt need, this one i would like to change to make it more like the other ones.

Image
 
#31 ·
Yes, i bought them from frank @ www.gottrikes.com/Tube_Bender.htm

I wont give them away, he spent a lot of time putting these together and deserves the $30.00 for them, good quality product made the build simple. Even comes with a cut sheet so you know what to get before you get started.